

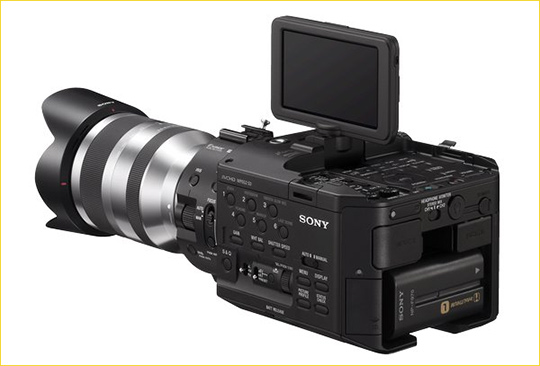
When we arrived at the studio we were reminded of the duties of the different roles we had been assigned as well as reminded of the different cameras that were available and how to use them. We used the Sony NX5, Sony FS100 and the Canon 5D which are fantastic camera at obtaining very good quality shots and allow you to zoom in and get a very sharp focus to the shot. Additionally, we also utilised a dolly which allowed us to use tracking shots and manipulate the position of the camera. When in the studio we were also reminded of how to use the rule of thirds when filming and put the most important part of the image in the top left hand side as this is where the audience’s eye is drawn to.


When completing this exercise I learnt many things and gained a deeper understanding about how to film and edit a music video effectively and sync up the singing with the track. This meant that I learned that you have to use the numbers on the play back to match up the track with the singing on the individual clips to make sure that it is synched. Additionally, I also learned that it is really important that your performers know the words to the song really well and a great tip that I picked up when we were on set was that it is much easier for the performers to lip sync if they actually sing on set and then this sound is removed in the editing as this provides a much more natural and realistic movement of the mouth which is much clearer and more accurate to match the track to in the editing process.


I followed many steps when editing this music video in the editing suite. Firstly we watched through the clips to get a better idea of what clips we had and what they looked like. Next we looked for the play back numbers on the individual shots and layered them up with the backing track to make sure that they were all synched. Following on from this, after layering the individual shots without cutting them we then decided which shots we wanted to use and used quick shots and cut them in two using the laser tool. This allowed us to use quick shots and we could cut between the different shots, although we were advised not to go from shot 1 to shot 2 and then back to shot 1 as tis can be boring for an audience as it is predictable and they will remember what they have previously seen. After cutting the shots and selecting them we made sure that they matched up correctly with the track and then we put the clips in an order to produce the final product.


Through this process I learnt many things about how to edit a music video. Firstly, that it is crucial that the singing matches up with the track as this can make or break a music video and this tips works harmoniously with the fact that it is important to start the editing process by matching up the time on the clapper board with the time on the track as this will ensure that the singing is synched. Additionally, I also learnt that when editing a music video it is important to keep the audience engaged and intrigued and in order to do this you must not edit the video so that it is shot 1 then shot 2 and then back to shot 1 as in a shot reverse shot, but rather vary the shots and make the video diverse and varied within its content as this will appeal to an audience more. I also learned that you can speed up the editing process by matching up the time of the video content with the timings of the track this can make the actual editing a lot quicker as all you have to do is arrange the videos in order of what you prefer as you already know that they are synched.


Although my lip sync task was relatively successful, there were definitely some areas that I could have improved on in order to make my final music video more effective including making sure that the performers knew the lyrics to the song thoroughly and also that they had some chorography planned before hand therefore when filming my final music video I will make sure that during my pre production work I arrange for the performers to learn the lyrics and the choreography as this will ultimately make the final video appear more professional and slick. Additionally, I will also make sure that instead of just going straight in with cutting the shots at the start and creating a timeline to start of with I will instead match up each of the individual shots with the track and leave them at their full length and then cut them closer to the end of the process as this will ensure that it is all synched and also that the content is varied and flows smoothly.

Overall, I leant many things through the lip sync task including tips on how to film and edit a music video which will prove to be very useful next year and aid me in creating a professional look to my music video as well as making it effective and also appealing for an audience. Not only was the lip sync task highly enjoyable but it also provided me with a foundation of knowledge which is highly applicable to the production work I will be doing next year.

Below is the embeded video for the lip sync task:
No comments:
Post a Comment